 Tweet
Tweet
Essex: Railings, bloody Railings
I did repair that deformed stern railing...
Installed all the railings bordering the hangar deck today plus got some more stuff in place including the rest of the those finicky little flight deck/catwalk steps. You can't imagine how much trouble some of the smallest details can cause you...
I should have put the cranes in BEFORE the railings since I almost thought I couldn't get them in without doing damage. As it was, with some delicate coaxing, I was able to get their pins into the holes and installed. The railings spaces were measured using a paint of dividers and I took some liberties, especially on the port side, where I ran the rails across some bulkheads instead of individually cutting and gluing. I did this mainly because the sizes were not neat multiples of rail stanchions and would have had a lot of little tiny railing ends causing me problems.
After installing the lower rails on the starboard side, I used the fine-line airbrush to retouch all the Navy and Deck Blue and get the brass blended with the rest of the model.
This is the aft crane.

And here is the fore crane.

There was a cross hangar deck catapult on the as-built Essex. It was removed when they added (as I did) the two additional 40mm mounts. I'm not sure if the starboard catapult was still in place. I have that part, which is stowed vertically, to put on if it is correct to do so.
The port side has all those rails that cross between roller doors. I know what I did is not ptototypical, but it was expedient.
The foremost roller doors don't get railings since the sponson now has a splinter shield surrounding it. It did get just one little rail on it aft-most door. And then I added a railing around the gun director platform next to it. Incidentally, there are rails around the five inch mounts, but a) they weren't called out in GMM's instructions, and more importantly, b) I would have soldered them to the circular platform since CA'ing it seems like a exercise in futility. So I probably won't attempt to add them.

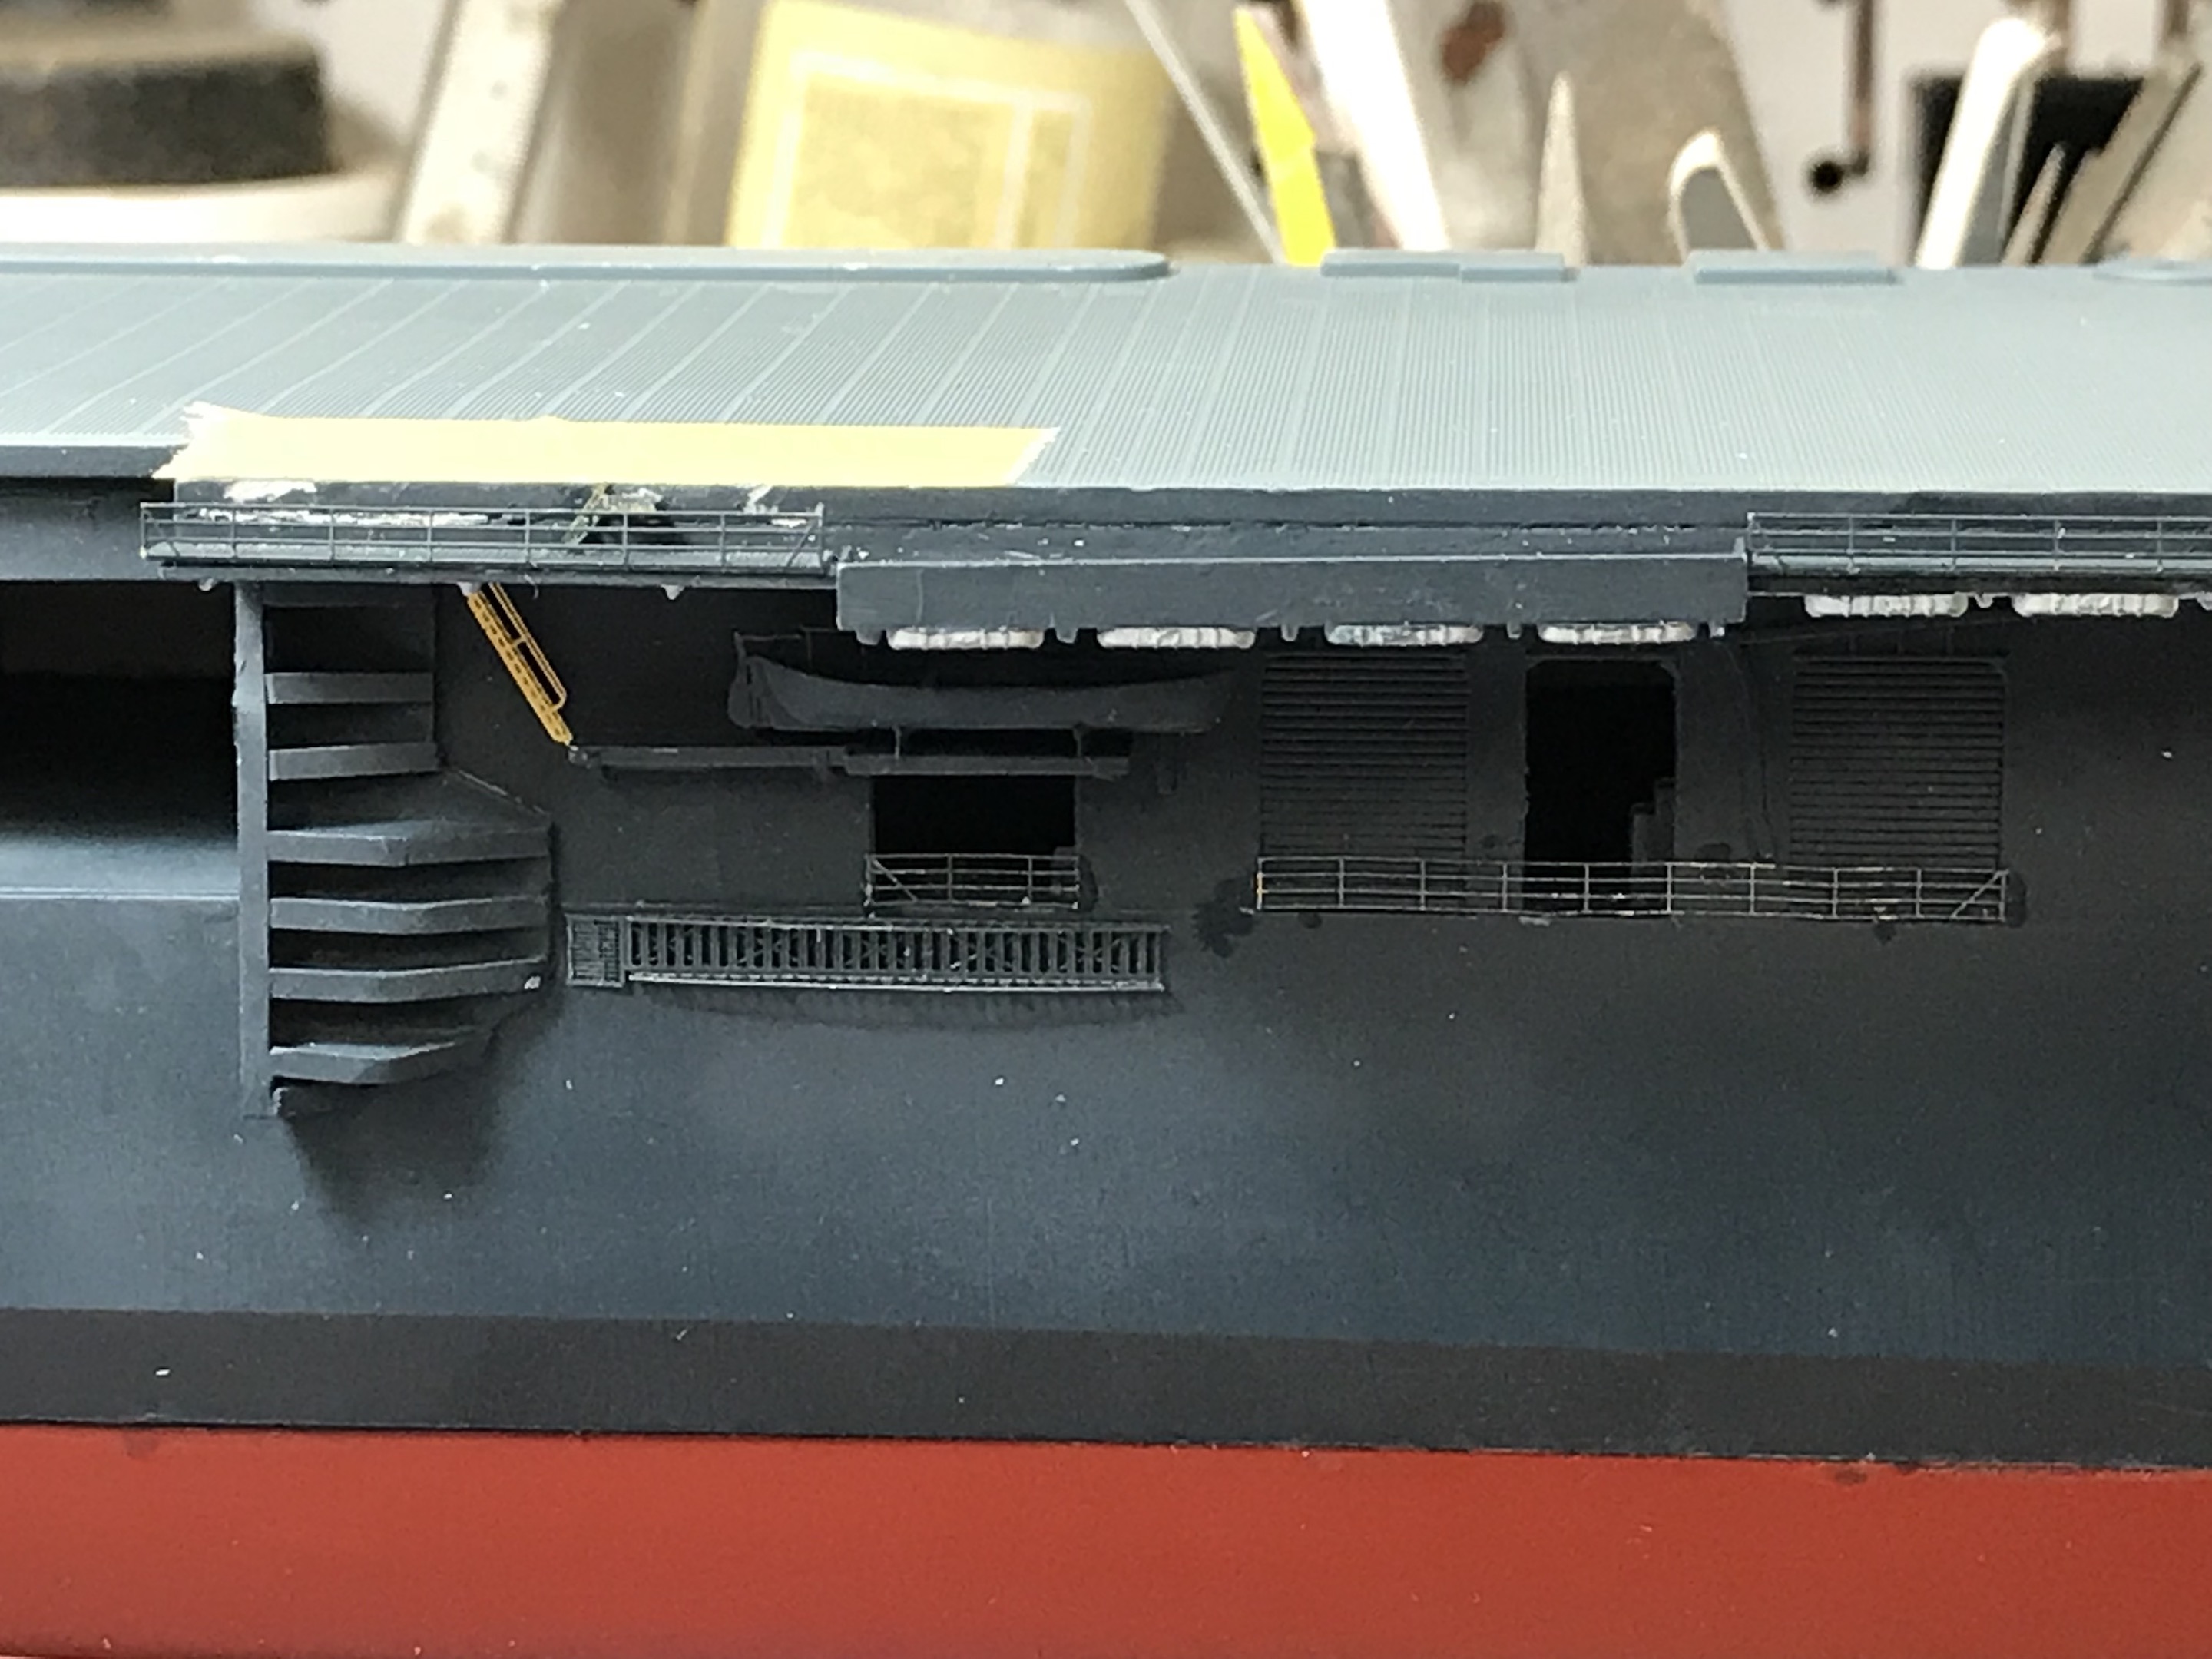
Here are the other areas that got these railings. Note, the port side has NOT been touch-up painted. That will come tomorrow, and I've already masked parts of the flight deck so the overspray doesn't ruin that lighter blue flight deck.
Notice the nice shiny new inclined ladder. There were two put on this side. Speaking of vertical ladders... I almost lost an entire fret of them. I had purchased an extra set of inclined ladders since I had ruined a lot of those included in the GMM set. This next bit is going to be a bit hard to visualize, but bear with me. My workbench is heavy plywood covered with Homosote (a press paper-board building panel). I used Homosote since it accepts T-pins very well and makes a great building surface for things that need to be pinned... flying RC models for example. There's a 3/4" ply wall at the work bench end and there's a tiny gap between the Homosote and the ply. This fret slipped down about a 1/4" and it was so firmly fixed in that groove that I literally had to take cutters and cut the fret away (after destroying half of the inclined ladders attached to it). The lower part is still in that groove. All I can imagine is somehow CA got in there and glued it in. I put a huge amount of effort in attempting to pull it out and it didn't budge. So I was able to salvage enough ladders to put the two on this ship. There's probably a few more that will work on a future project, but the rest are ruined. Murphy strikes again!
The companion ladder is stowed where it is supposed to go. And I see another spot that needs a railing... leading to that boat deck.

Tomorrow, I'll start putting in some guns (I think). I need to paint the prop shafts (anti-fouling white), and prepare the plastic props. I was thinking about buying G-Force brass props like I did for the Missouri. They look pretty good. I may still do that for this ship.
I will get the anchors in place, start preparing the flight deck for decals and weathering, and then start rigging the island. There are tons of antenna and flag halyards hanging on that part. I also have to install and rig those long-range radio antenna. What's the best way to fasten the aircraft to the flight deck?
I did repair that deformed stern railing...
Installed all the railings bordering the hangar deck today plus got some more stuff in place including the rest of the those finicky little flight deck/catwalk steps. You can't imagine how much trouble some of the smallest details can cause you...
I should have put the cranes in BEFORE the railings since I almost thought I couldn't get them in without doing damage. As it was, with some delicate coaxing, I was able to get their pins into the holes and installed. The railings spaces were measured using a paint of dividers and I took some liberties, especially on the port side, where I ran the rails across some bulkheads instead of individually cutting and gluing. I did this mainly because the sizes were not neat multiples of rail stanchions and would have had a lot of little tiny railing ends causing me problems.
After installing the lower rails on the starboard side, I used the fine-line airbrush to retouch all the Navy and Deck Blue and get the brass blended with the rest of the model.
This is the aft crane.
And here is the fore crane.
There was a cross hangar deck catapult on the as-built Essex. It was removed when they added (as I did) the two additional 40mm mounts. I'm not sure if the starboard catapult was still in place. I have that part, which is stowed vertically, to put on if it is correct to do so.
The port side has all those rails that cross between roller doors. I know what I did is not ptototypical, but it was expedient.
The foremost roller doors don't get railings since the sponson now has a splinter shield surrounding it. It did get just one little rail on it aft-most door. And then I added a railing around the gun director platform next to it. Incidentally, there are rails around the five inch mounts, but a) they weren't called out in GMM's instructions, and more importantly, b) I would have soldered them to the circular platform since CA'ing it seems like a exercise in futility. So I probably won't attempt to add them.
Here are the other areas that got these railings. Note, the port side has NOT been touch-up painted. That will come tomorrow, and I've already masked parts of the flight deck so the overspray doesn't ruin that lighter blue flight deck.
Notice the nice shiny new inclined ladder. There were two put on this side. Speaking of vertical ladders... I almost lost an entire fret of them. I had purchased an extra set of inclined ladders since I had ruined a lot of those included in the GMM set. This next bit is going to be a bit hard to visualize, but bear with me. My workbench is heavy plywood covered with Homosote (a press paper-board building panel). I used Homosote since it accepts T-pins very well and makes a great building surface for things that need to be pinned... flying RC models for example. There's a 3/4" ply wall at the work bench end and there's a tiny gap between the Homosote and the ply. This fret slipped down about a 1/4" and it was so firmly fixed in that groove that I literally had to take cutters and cut the fret away (after destroying half of the inclined ladders attached to it). The lower part is still in that groove. All I can imagine is somehow CA got in there and glued it in. I put a huge amount of effort in attempting to pull it out and it didn't budge. So I was able to salvage enough ladders to put the two on this ship. There's probably a few more that will work on a future project, but the rest are ruined. Murphy strikes again!
The companion ladder is stowed where it is supposed to go. And I see another spot that needs a railing... leading to that boat deck.
Tomorrow, I'll start putting in some guns (I think). I need to paint the prop shafts (anti-fouling white), and prepare the plastic props. I was thinking about buying G-Force brass props like I did for the Missouri. They look pretty good. I may still do that for this ship.
I will get the anchors in place, start preparing the flight deck for decals and weathering, and then start rigging the island. There are tons of antenna and flag halyards hanging on that part. I also have to install and rig those long-range radio antenna. What's the best way to fasten the aircraft to the flight deck?


Comment