 Tweet
Tweet
A little bit of work done. Cockpit done except for the quickboost bang seats. and the nose mated to the fuselage
Compare this picture to the one of the "D". Just a small gap at the upper corner. Everything else lines up, No sanding or filler needed. Will hit that spot with a little Mr Surfacer and it will be good to go
This is where the fit problem is. Where it isn't going to be seen. But once again a little Mr Surfacer 1200 will fill the void nicely

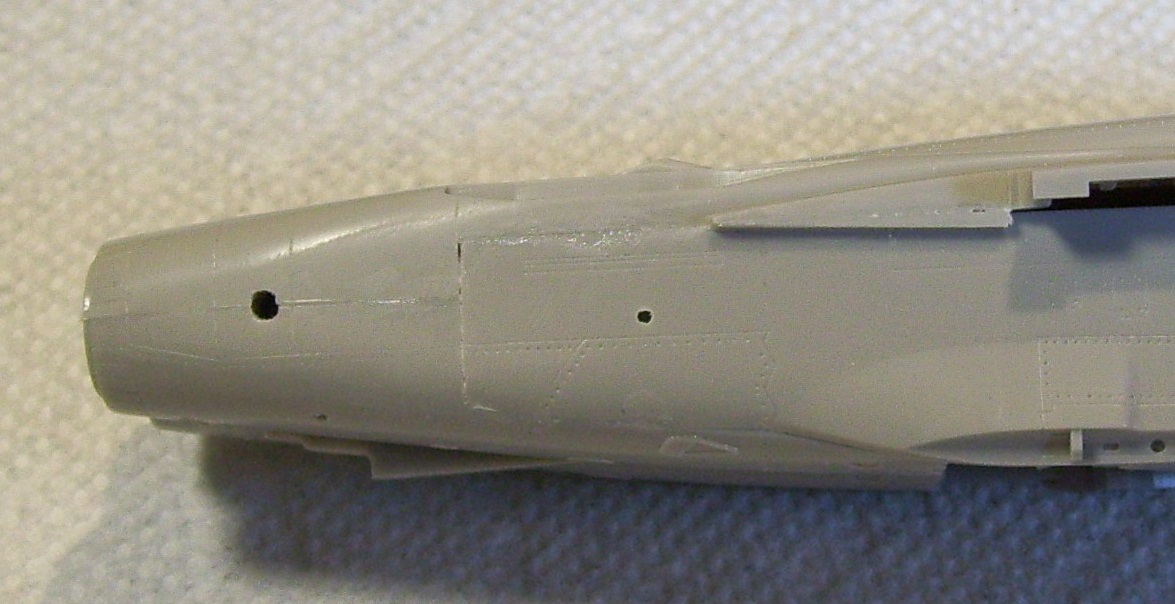
The instructions say to fill the holes. But actually you should sand the hump down where the gun is. This is whats taken so long. I backfilled the area with some styrene and superglue. Let it cure for a week before I took the sand paper to it. As you can see Hasegawa cockpits in 1/72 are decals. I'm fine with that, especially since the canopy will be closed and you wont see anything anyway.
 .
.
The gap in front. Plan to use my saw to make it even and insert a piece of styrene . I've done the putty and sand routine. But this is easier and you sand off less detail. The one good thing building the "D" taught me

Same on the bottom. Saw and fill. A few seams I need to work on in the intakes

I was starting to get a little disheartened while doing the C and D. Old kits that fought me all the way. This G is so much better. This I enjoy. And thats what a hobby is all about
Compare this picture to the one of the "D". Just a small gap at the upper corner. Everything else lines up, No sanding or filler needed. Will hit that spot with a little Mr Surfacer and it will be good to go
This is where the fit problem is. Where it isn't going to be seen. But once again a little Mr Surfacer 1200 will fill the void nicely
The instructions say to fill the holes. But actually you should sand the hump down where the gun is. This is whats taken so long. I backfilled the area with some styrene and superglue. Let it cure for a week before I took the sand paper to it. As you can see Hasegawa cockpits in 1/72 are decals. I'm fine with that, especially since the canopy will be closed and you wont see anything anyway.
The gap in front. Plan to use my saw to make it even and insert a piece of styrene . I've done the putty and sand routine. But this is easier and you sand off less detail. The one good thing building the "D" taught me
Same on the bottom. Saw and fill. A few seams I need to work on in the intakes
I was starting to get a little disheartened while doing the C and D. Old kits that fought me all the way. This G is so much better. This I enjoy. And thats what a hobby is all about
Comment